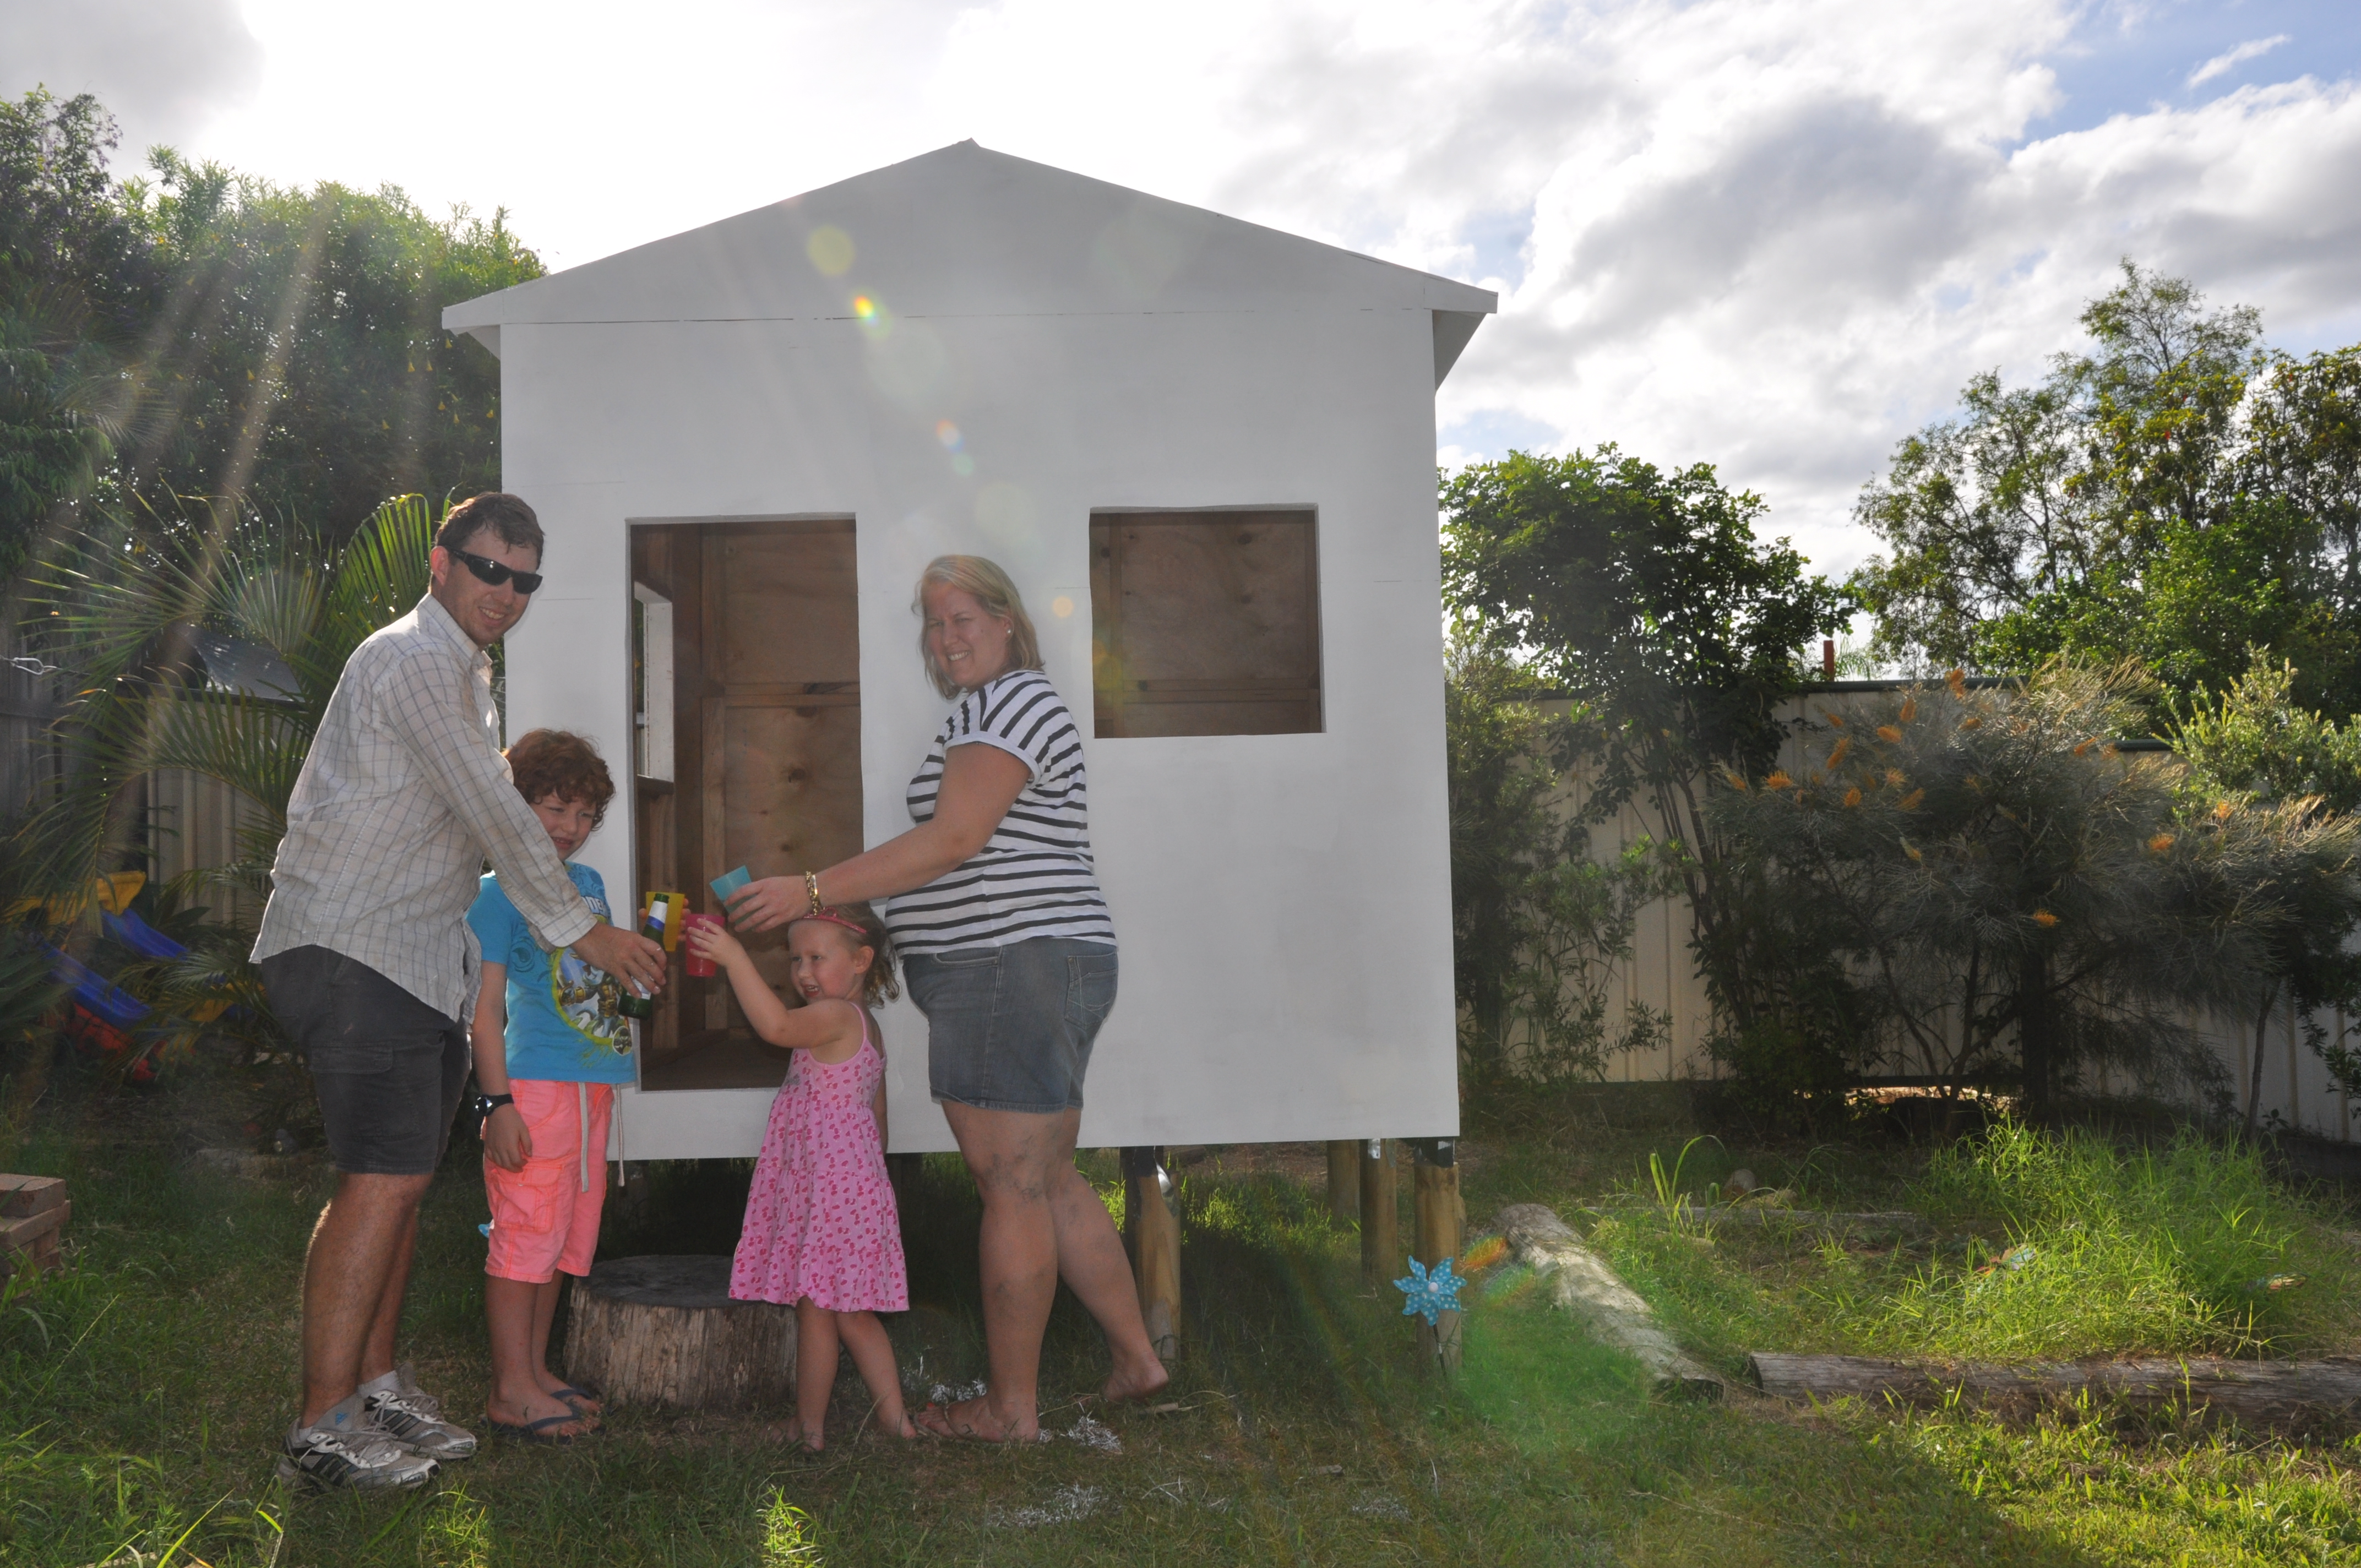
4 January 2015
The Cubby House isn’t 100% complete, but it is close enough, and time to let the kids to be able to play in it. Still need to complete doors, windows, trims, and second coat of paint.
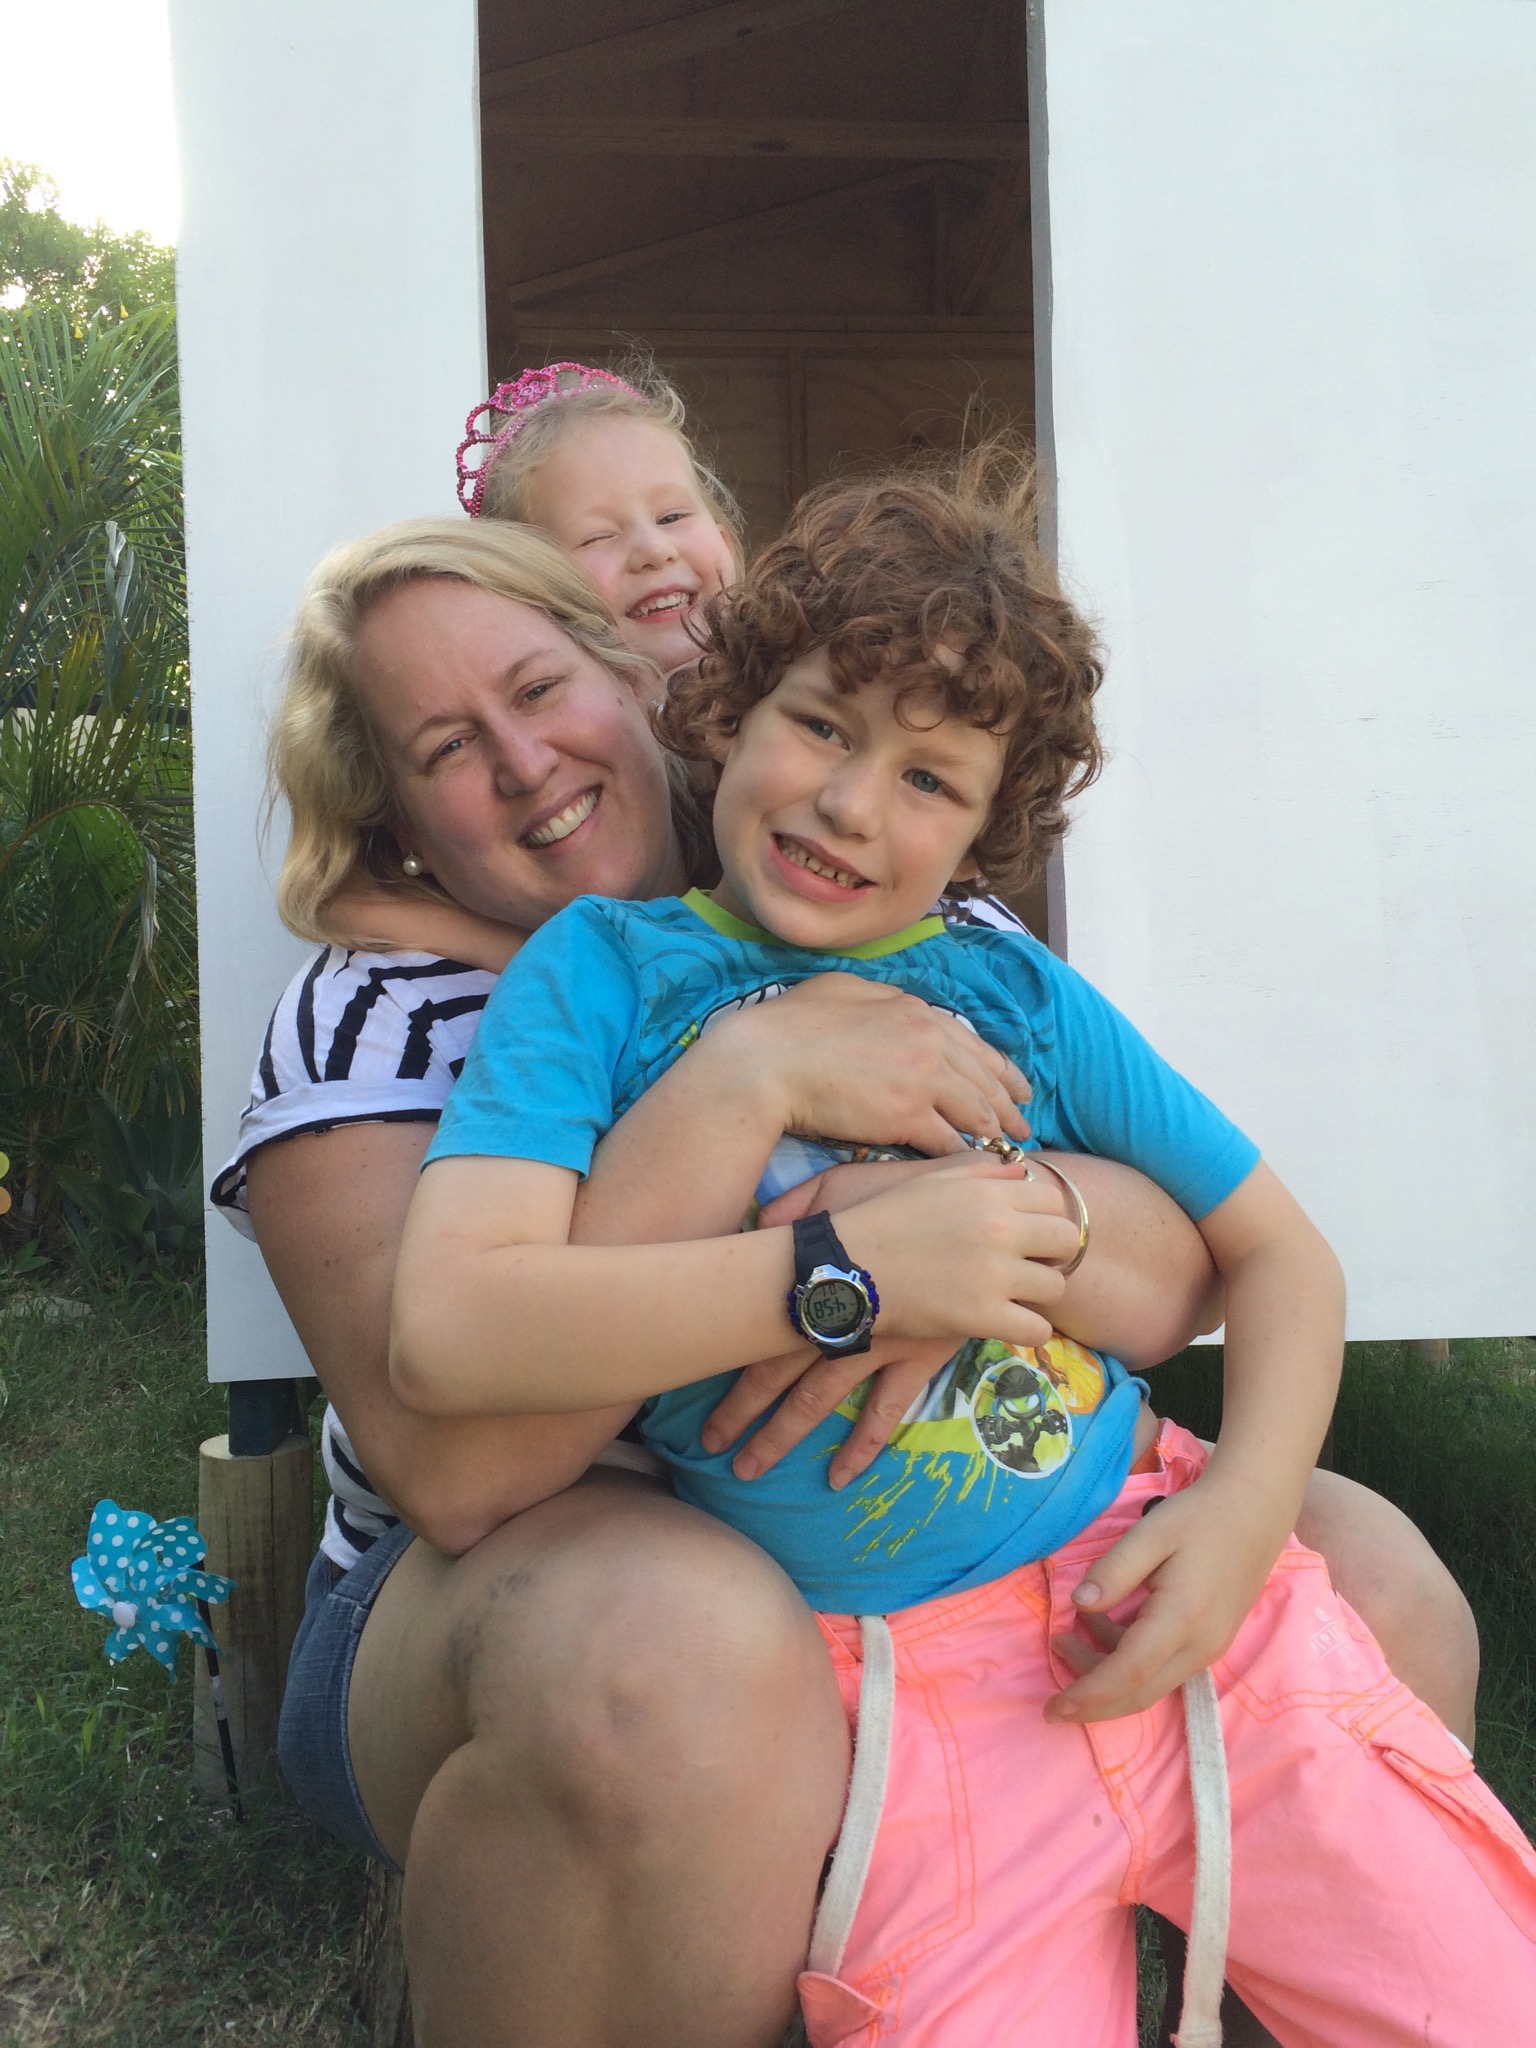
Time for a family picture!
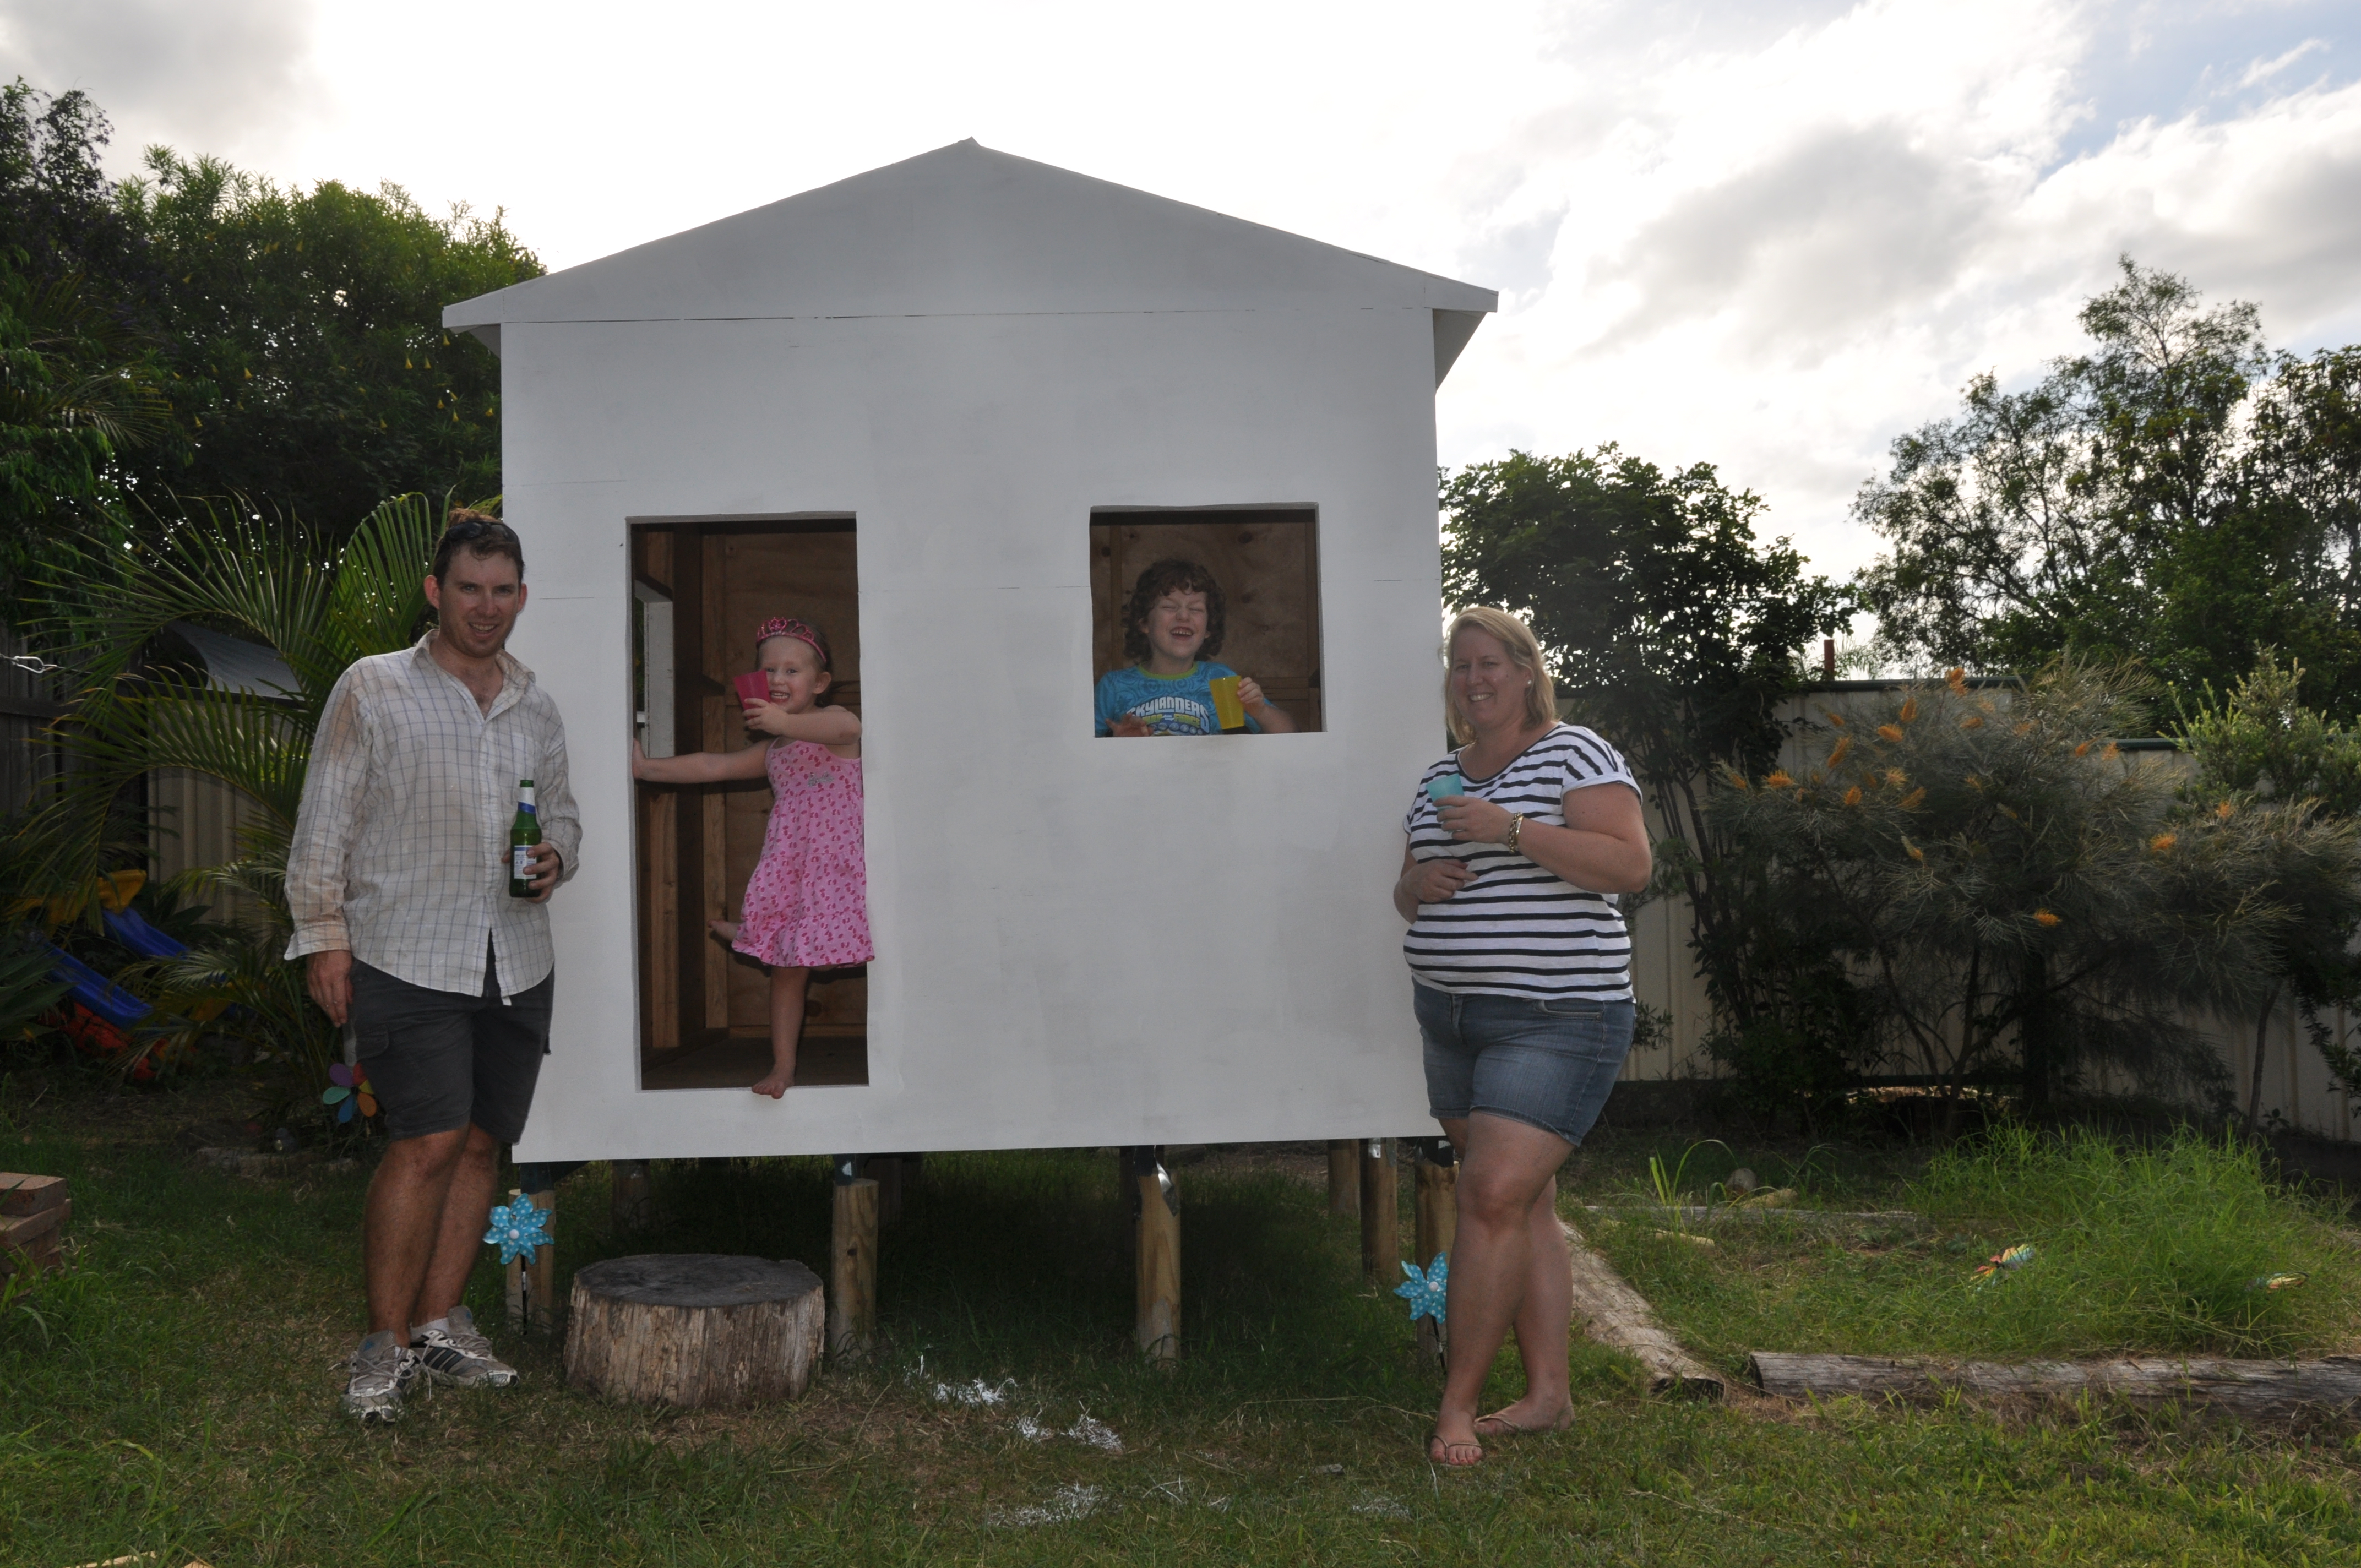
4 January 2015
The Cubby House isn’t 100% complete, but it is close enough, and time to let the kids to be able to play in it. Still need to complete doors, windows, trims, and second coat of paint.
Time for a family picture!
3 January 2014
Day started with a trip to Bunnings to get filler, hinges, more paint and plastic angle. Filled up all the screw holes and applied the back wall. I used some goo in a chalking gun to seal up the plastic angle at the top of the roof.

Construction time ~ 3.5 hours
4 January 2015
Sanded all the filler, then painted the exterior of the cubby.

Painted the first letter of the kids names for some fun.

Right wall painted, cutting-in complete on front-wall.
You may also notice I’ve added small pieces of ply to the triangle at the front of the cubby at the request of the wife.

First coat complete!

Duration: ~5.5 hours
2 January 2015
Another afternoon start after Niece’s birthday celebrations in the morning. The roof was surprisingly easy to get onto the roof structure and clamp into place, but took over an hour to line up everything until I was happy. For whatever reason, the front truss was out of alignment with the remaining three trusses.
I had been trying to align the two sheets of ply to the centre of the front truss. The only way I could get it to work was to align to the ends of the rafters along the side walls. This got it as even as I could.
After securing into place, a piece of plastic angle was used to cover the gap to prevent water ingress.
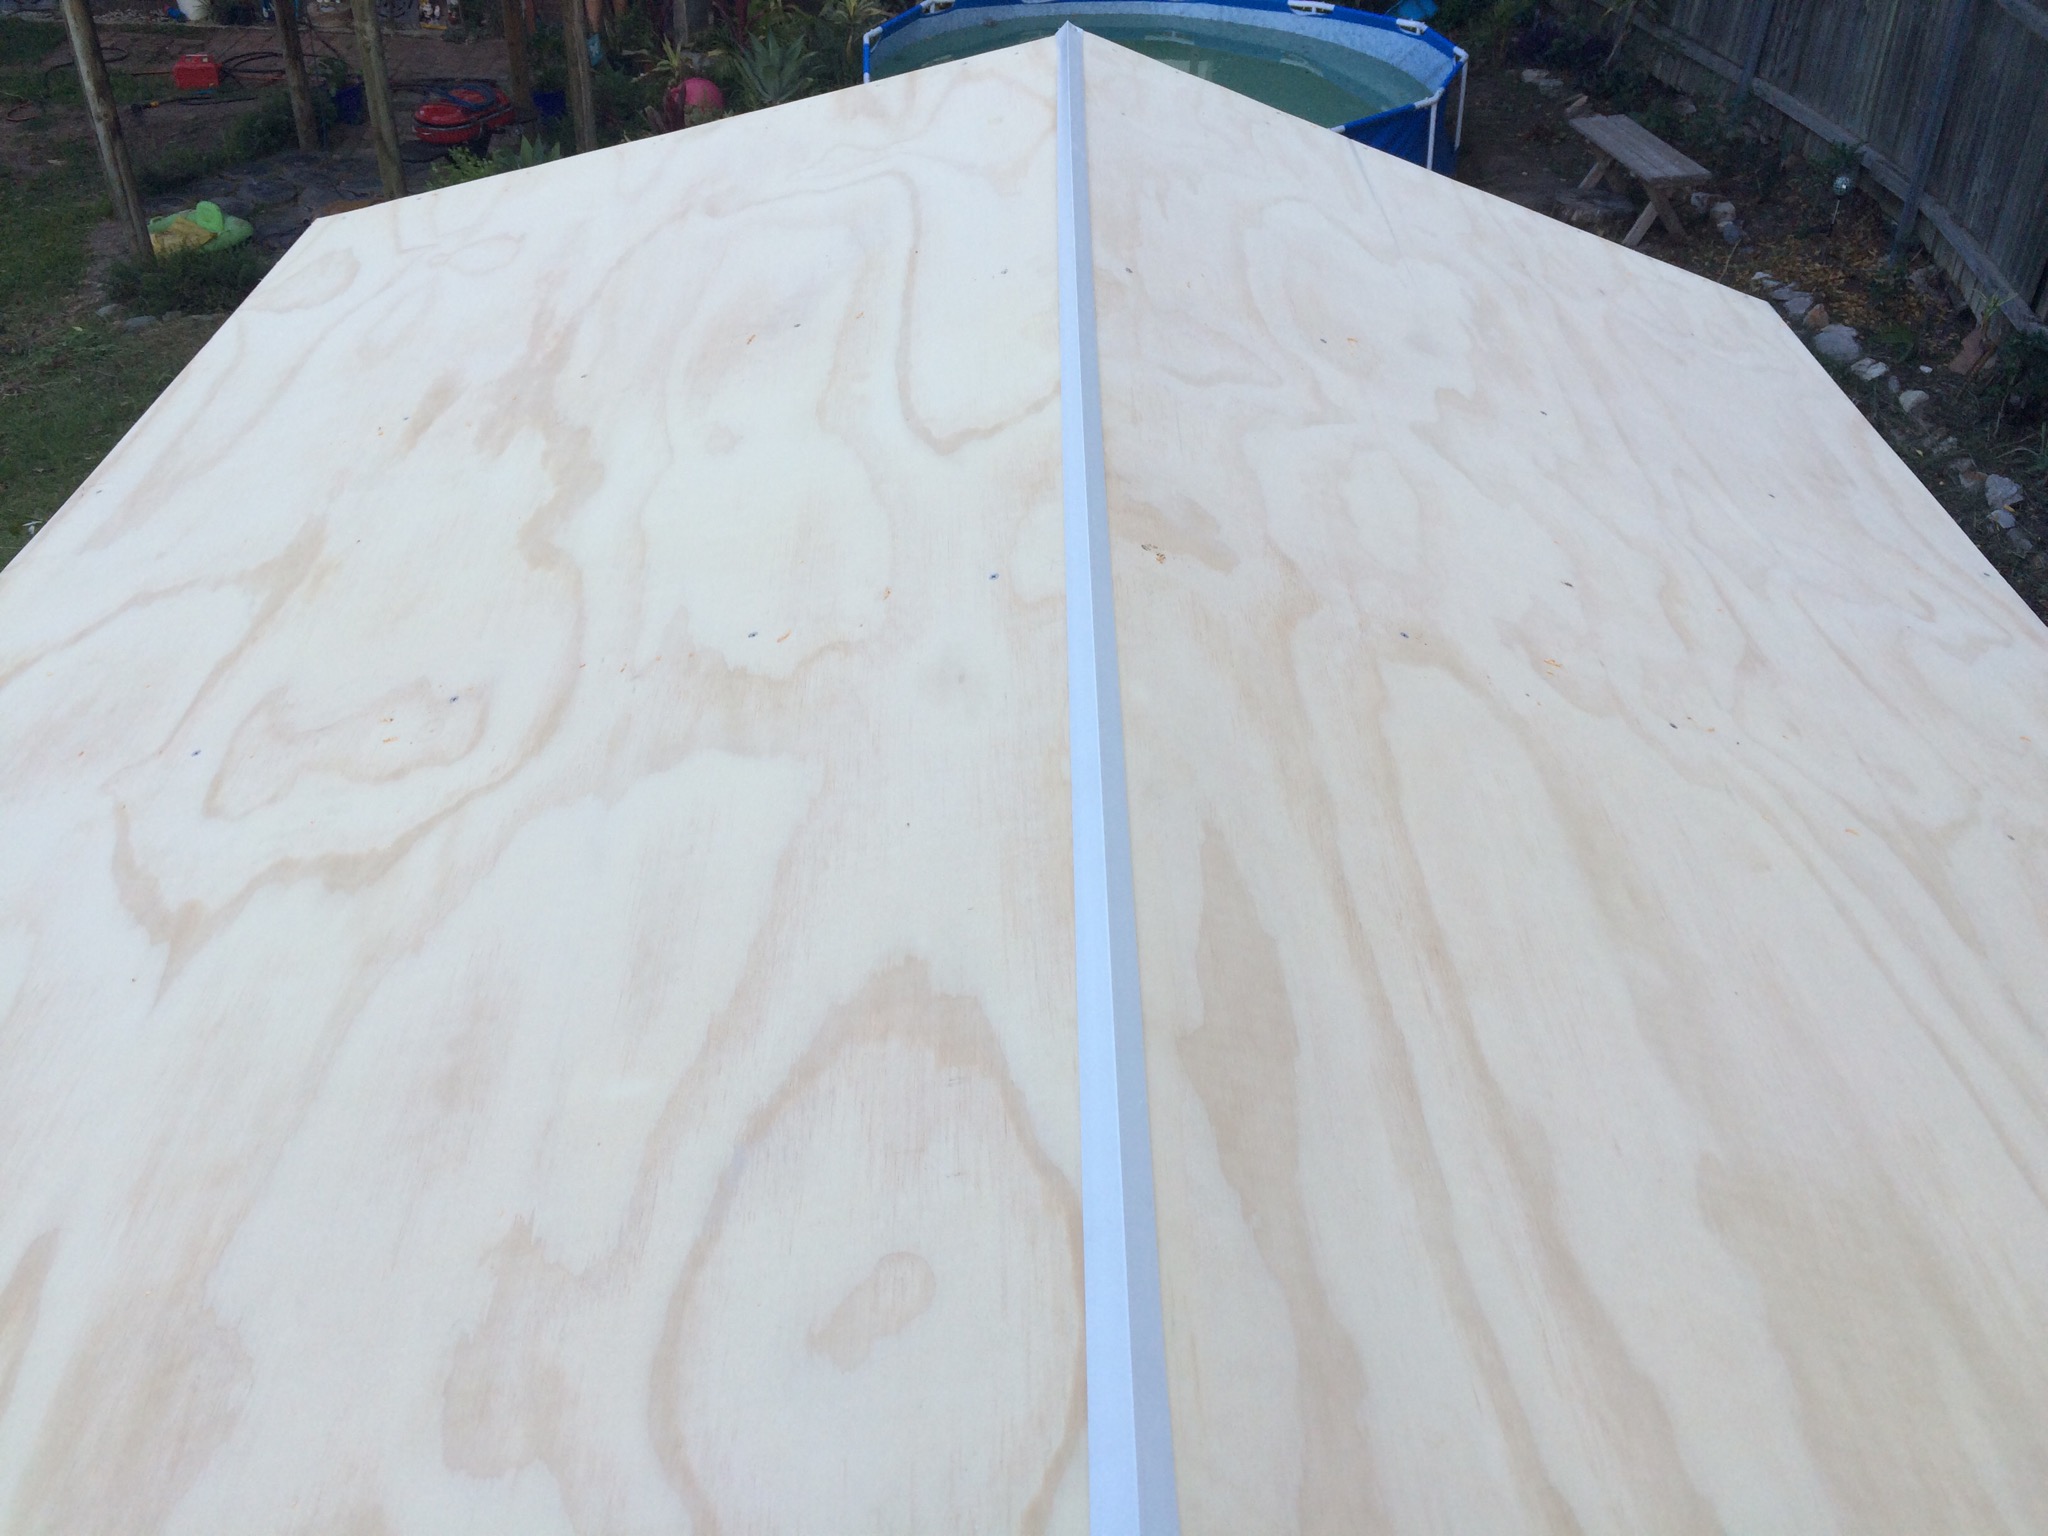

Construction time ~ 3 hours
Some additional pics from the inside:


3 January 2015
As part of the paint preparation, it was time to attach the back wall to the cubby too.

31 December 2014 – Wall Cladding
I made another trip to Bunnings to grab the remaining 8 sheets of 7mm ply. To minimise the sheets of ply needed, the height of the cubby was centred around 1.5 sheets of ply high – 1800mm.
The first part was to cut out the two triangles for the front and back trusses. These had been traced out before screwing into position on the wall frame. The top pieces of the walls had also been cut.
A reciprocating saw was used to cut out the tops of the windows and door frame. This was much easier then trying to measure and cut this off the frame.


Construction time ~ 4 hours.
1 January 2015 – More wall cladding
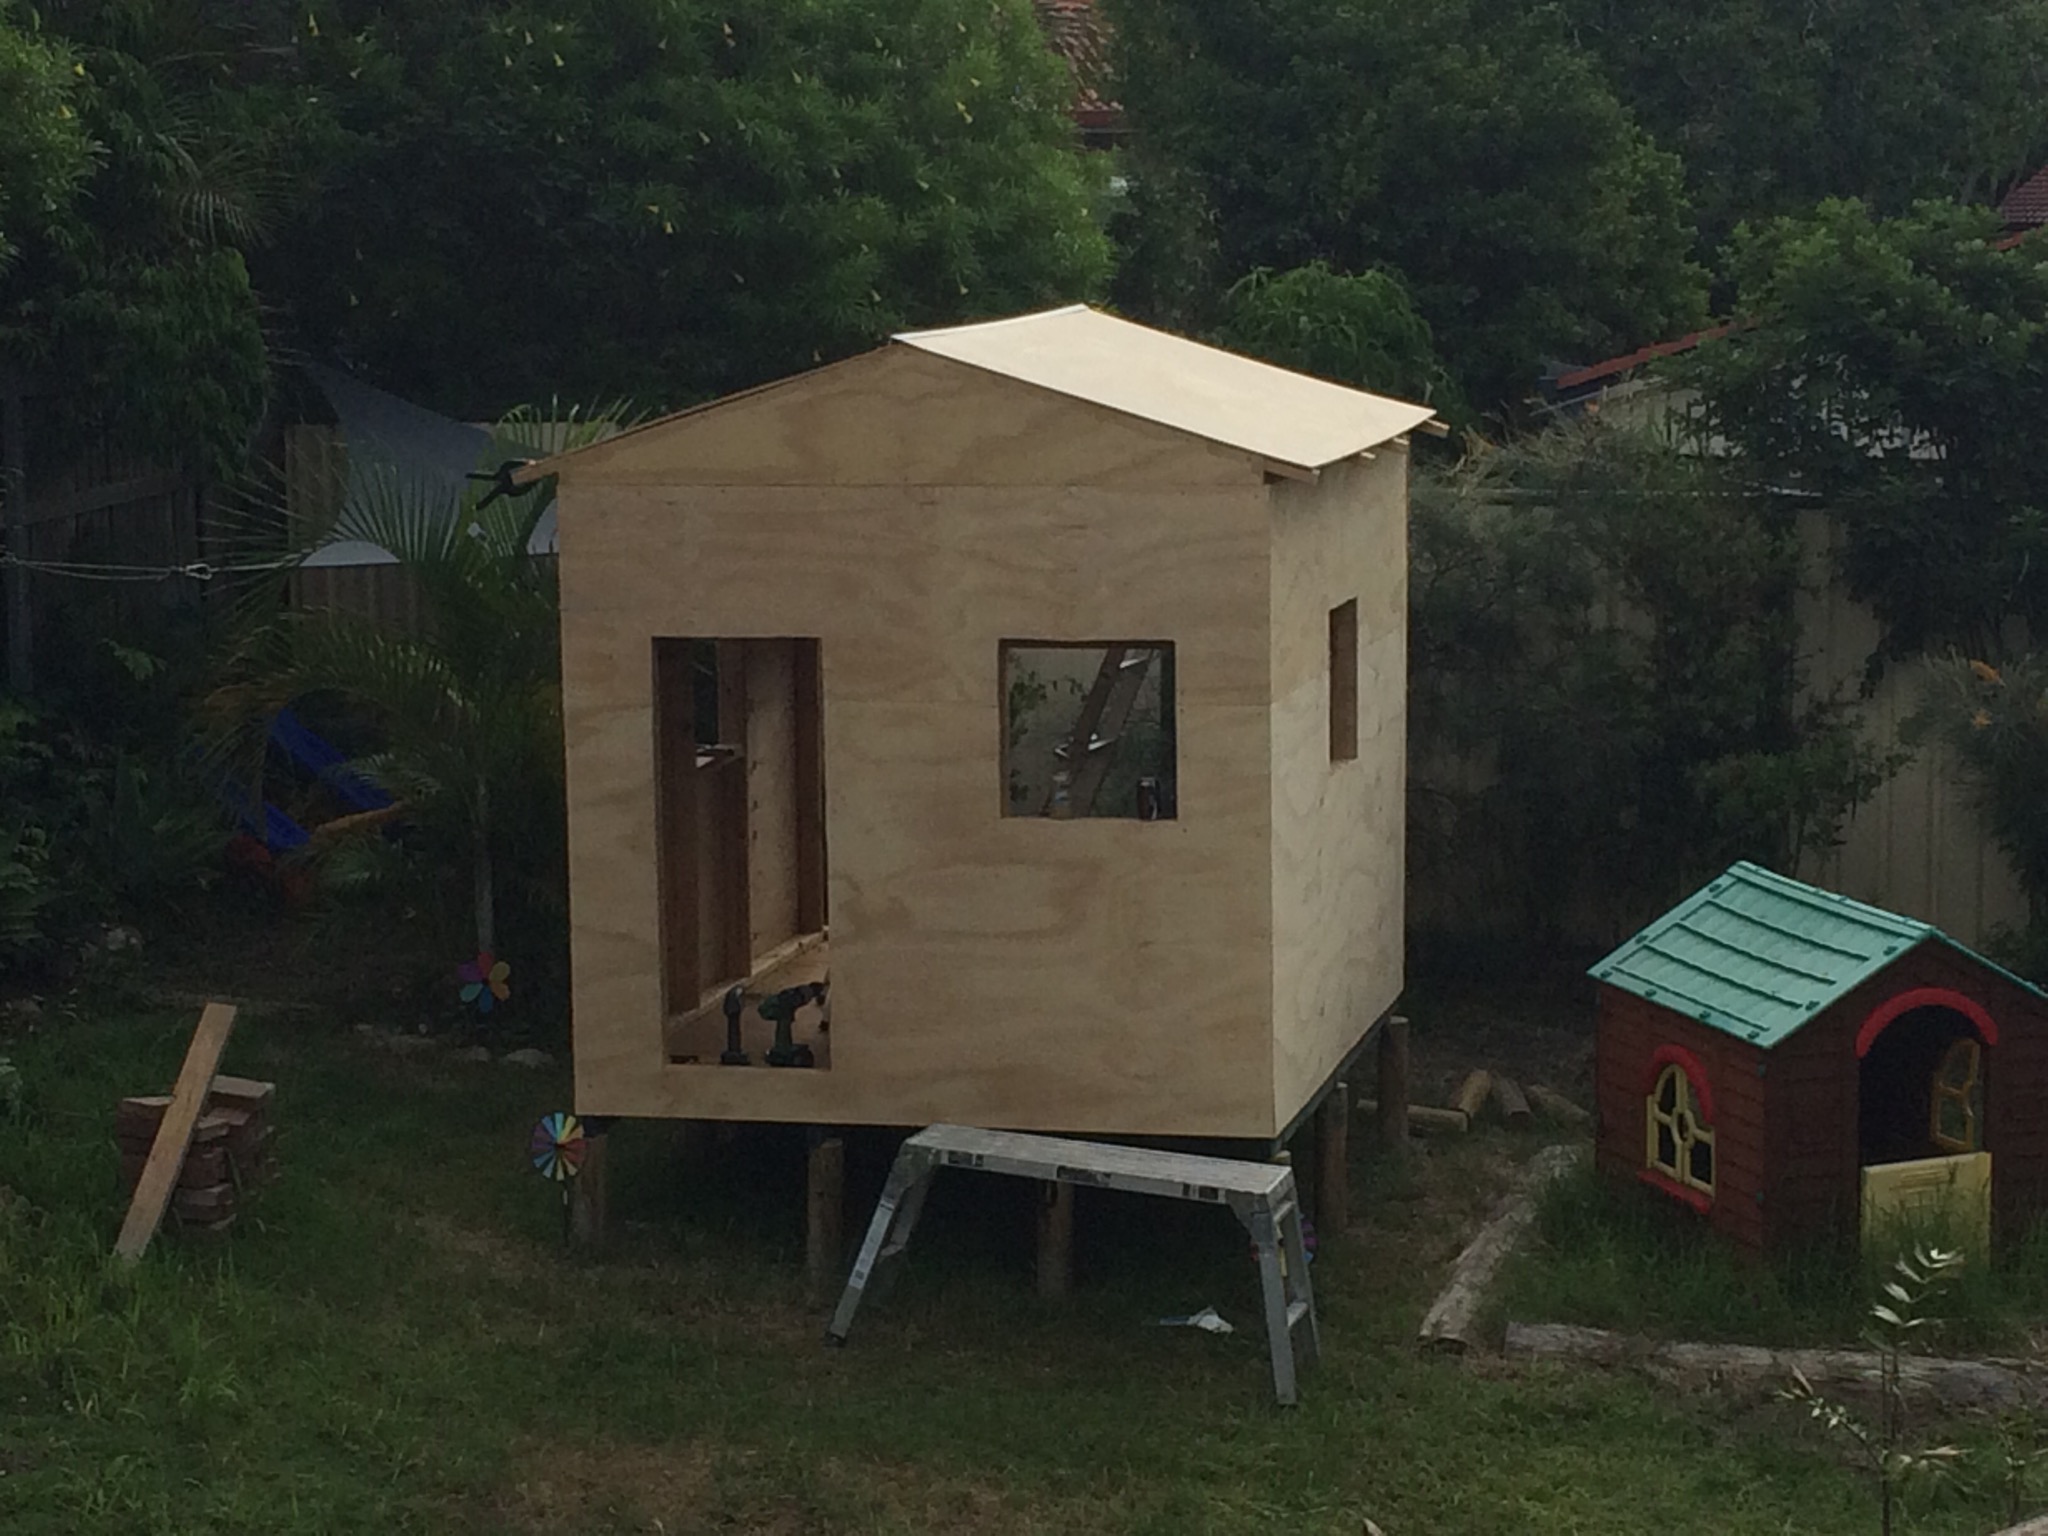
I started putting up the main sheets late on New Years Day. Now it started to look like a real cubby.


Even the kids seemed impressed


I was ready to finish for the day, when wife kept working away in the garden. So I cut the front wall and screwed that into position too.


At this stage I realised how much I was relying on the back being open to move around the cubby. I made a decision to put the back wall on as late as possible, and to do the roof first.
Construction time ~ 3.5 hours
30 December 2014
Finally some progress as the frames go up. Hard for the kids to conceptualise all this work until this point.


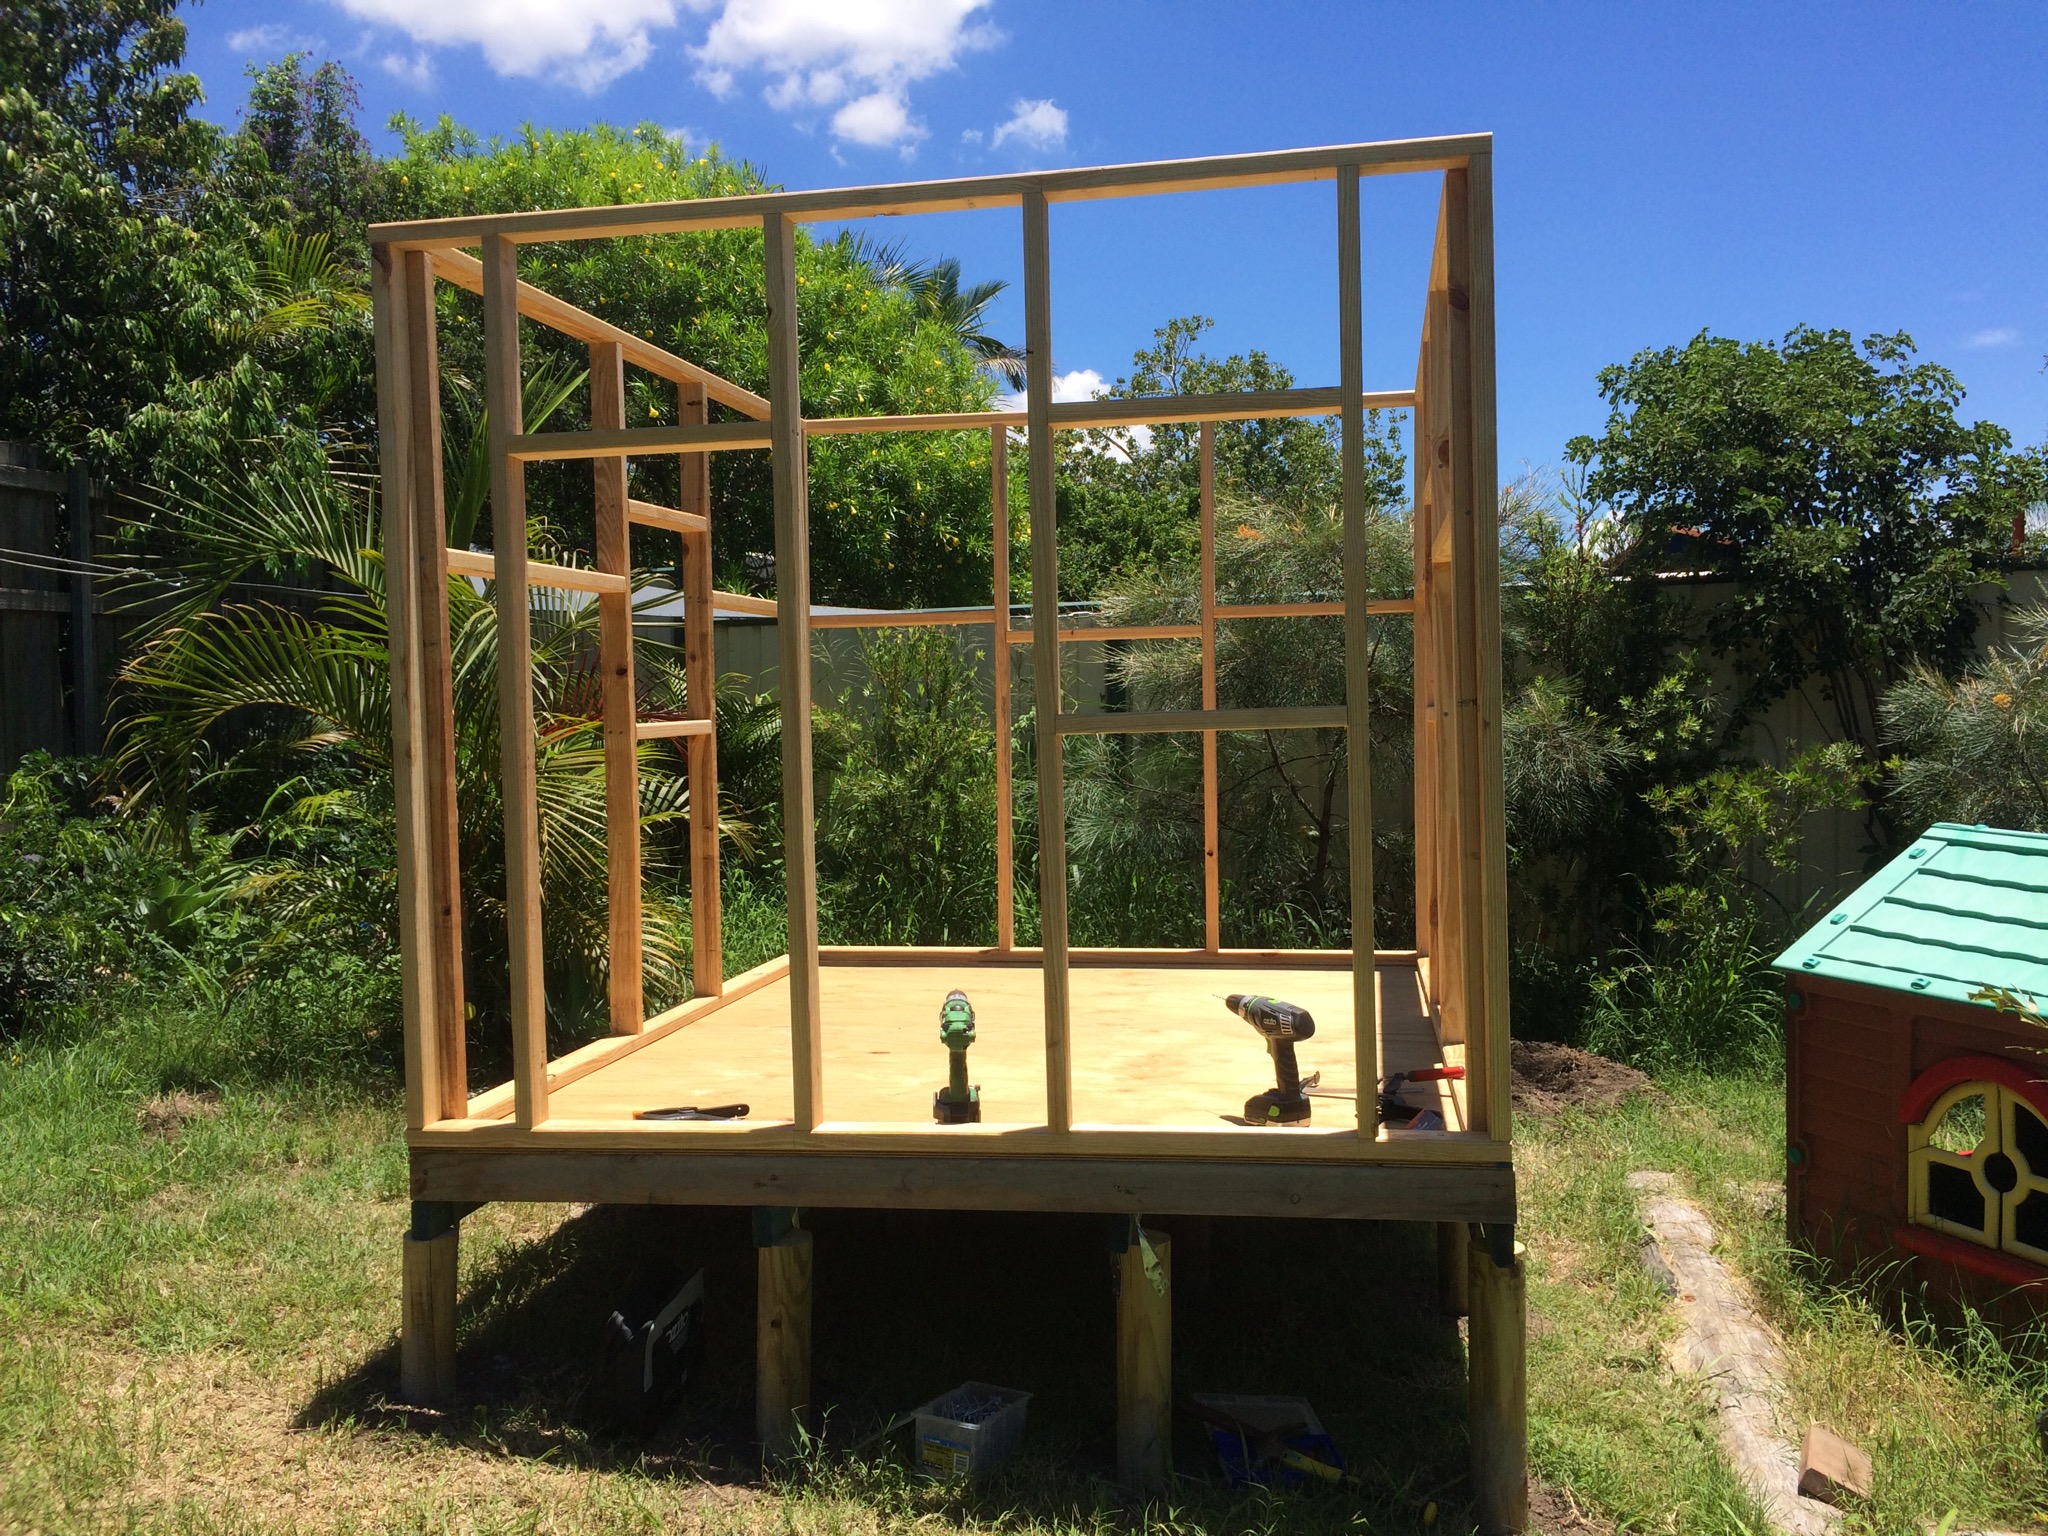
Dwarfs the old plastic cubby sitting in the back yard.
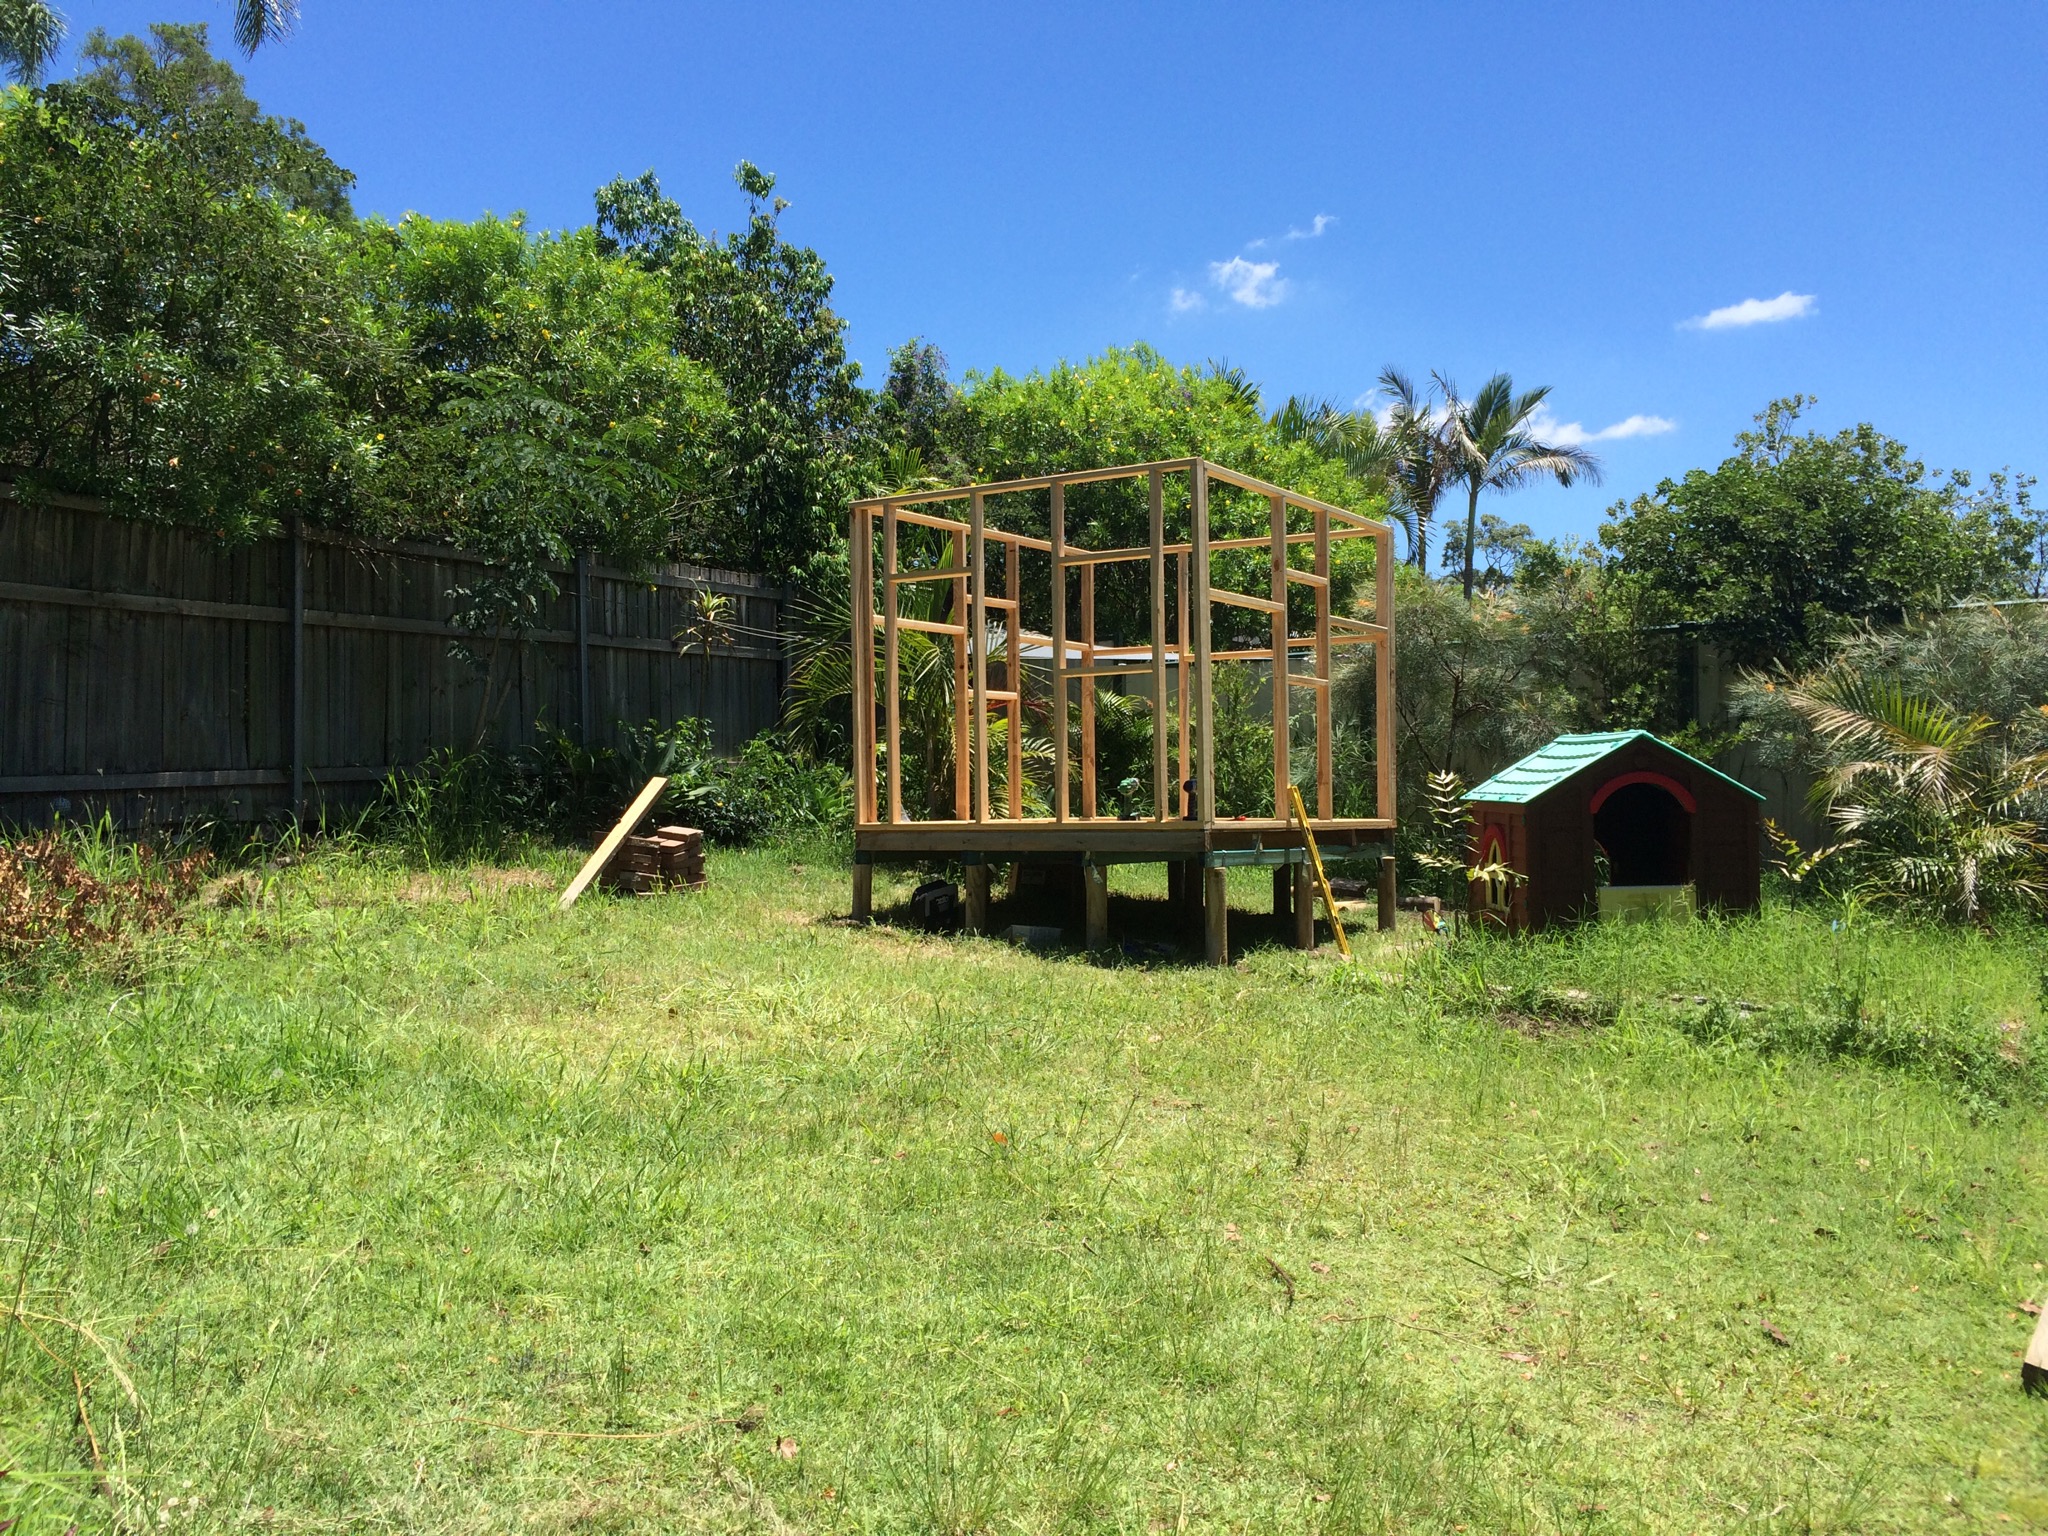
We had made fairly good progress, it had just turned noon and we decided to start work on the roof structure. After our prototype truss which was to only be at the front and back of the cubby, I decided it would be far easier to just fabricate four of these than what I had originally intended.


Construction time for 30 December, which included levelling the last four posts, fitting the floor to the posts, constructing the front wall frame, mounting all wall frames, fabricating and fitting the roof trusses, ~ 5 hours.